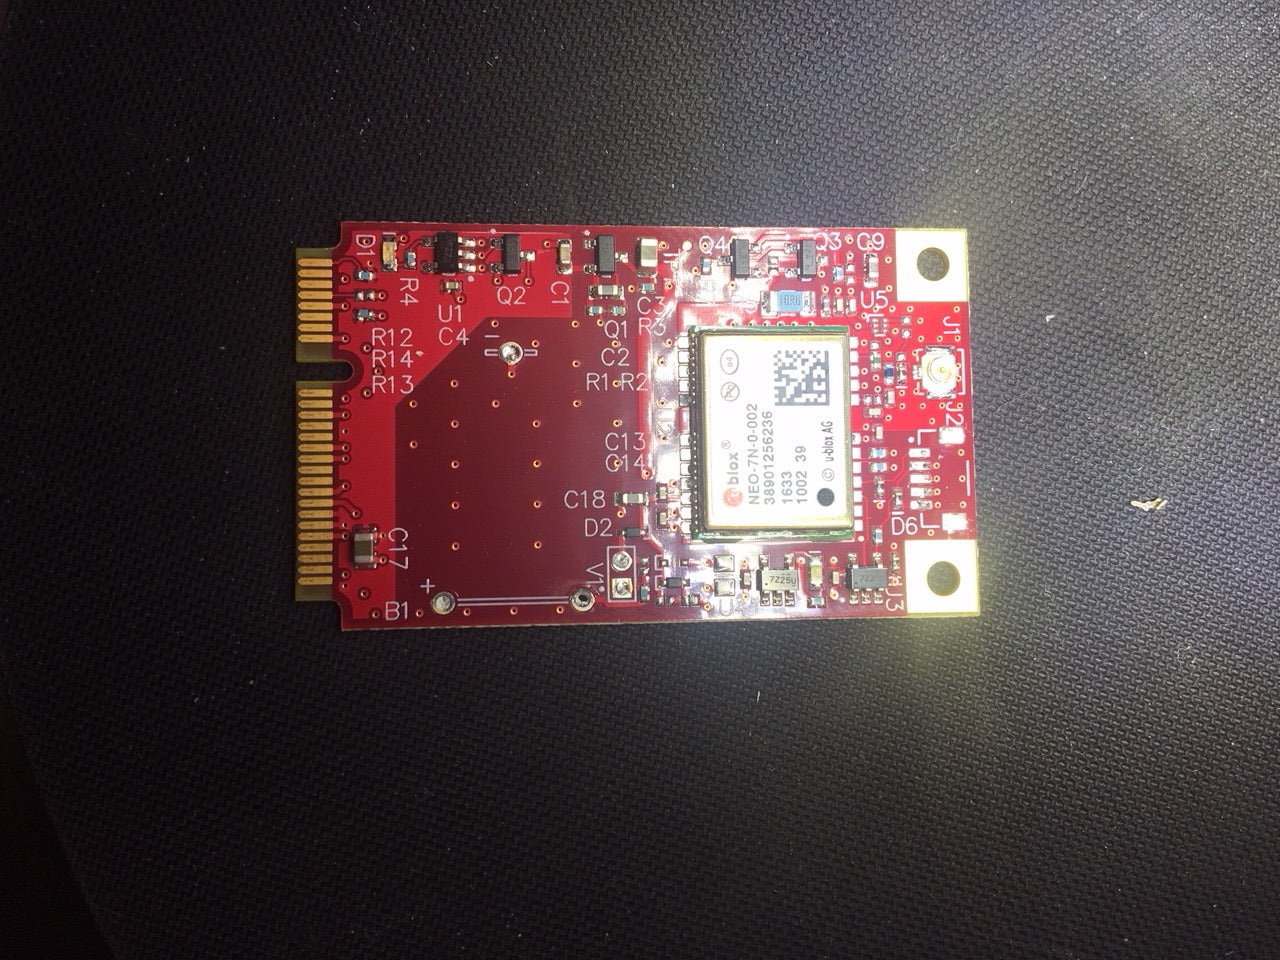
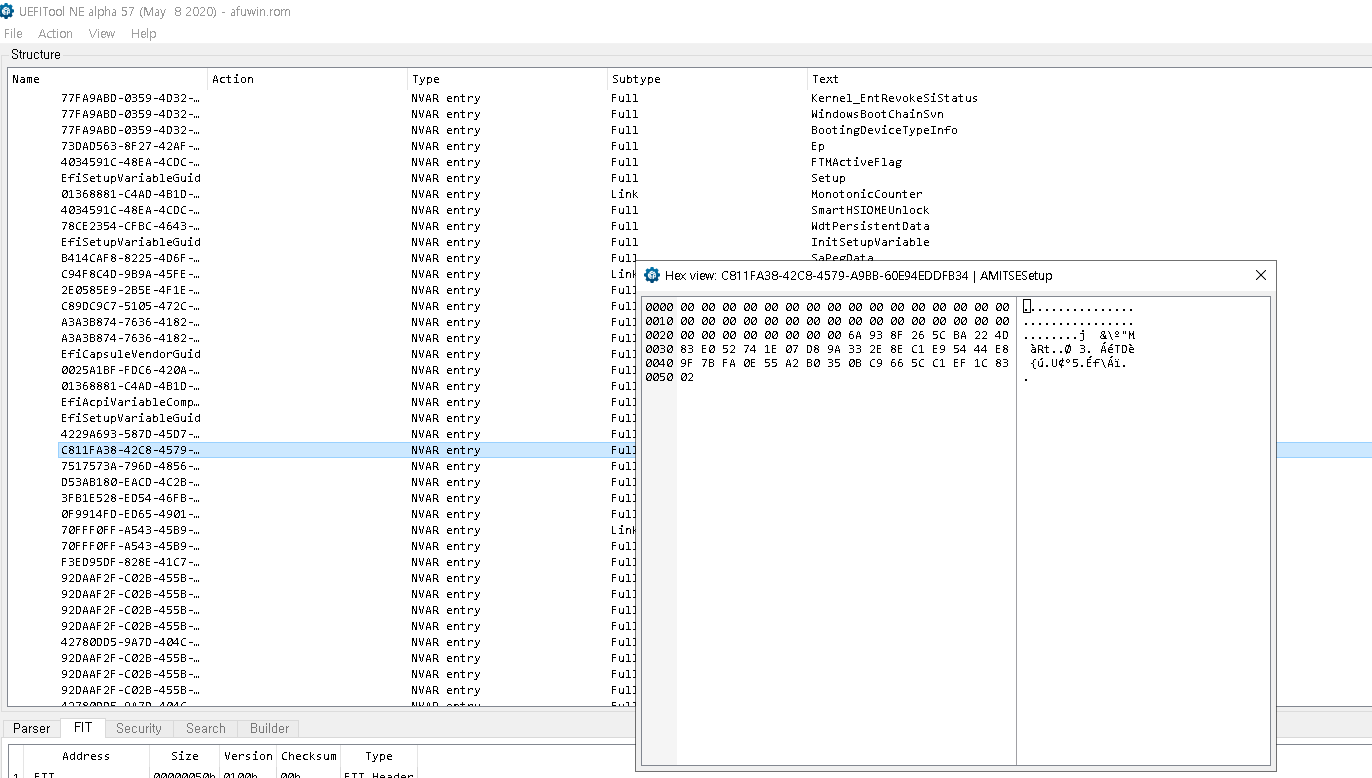
Universal Programmer IC Programmer for PLC Unlock Service Like SupperPro, RT809H, Sofi SF8 Programmer for it need to good quality plcc socket as per ic design…
Programming Software: Download
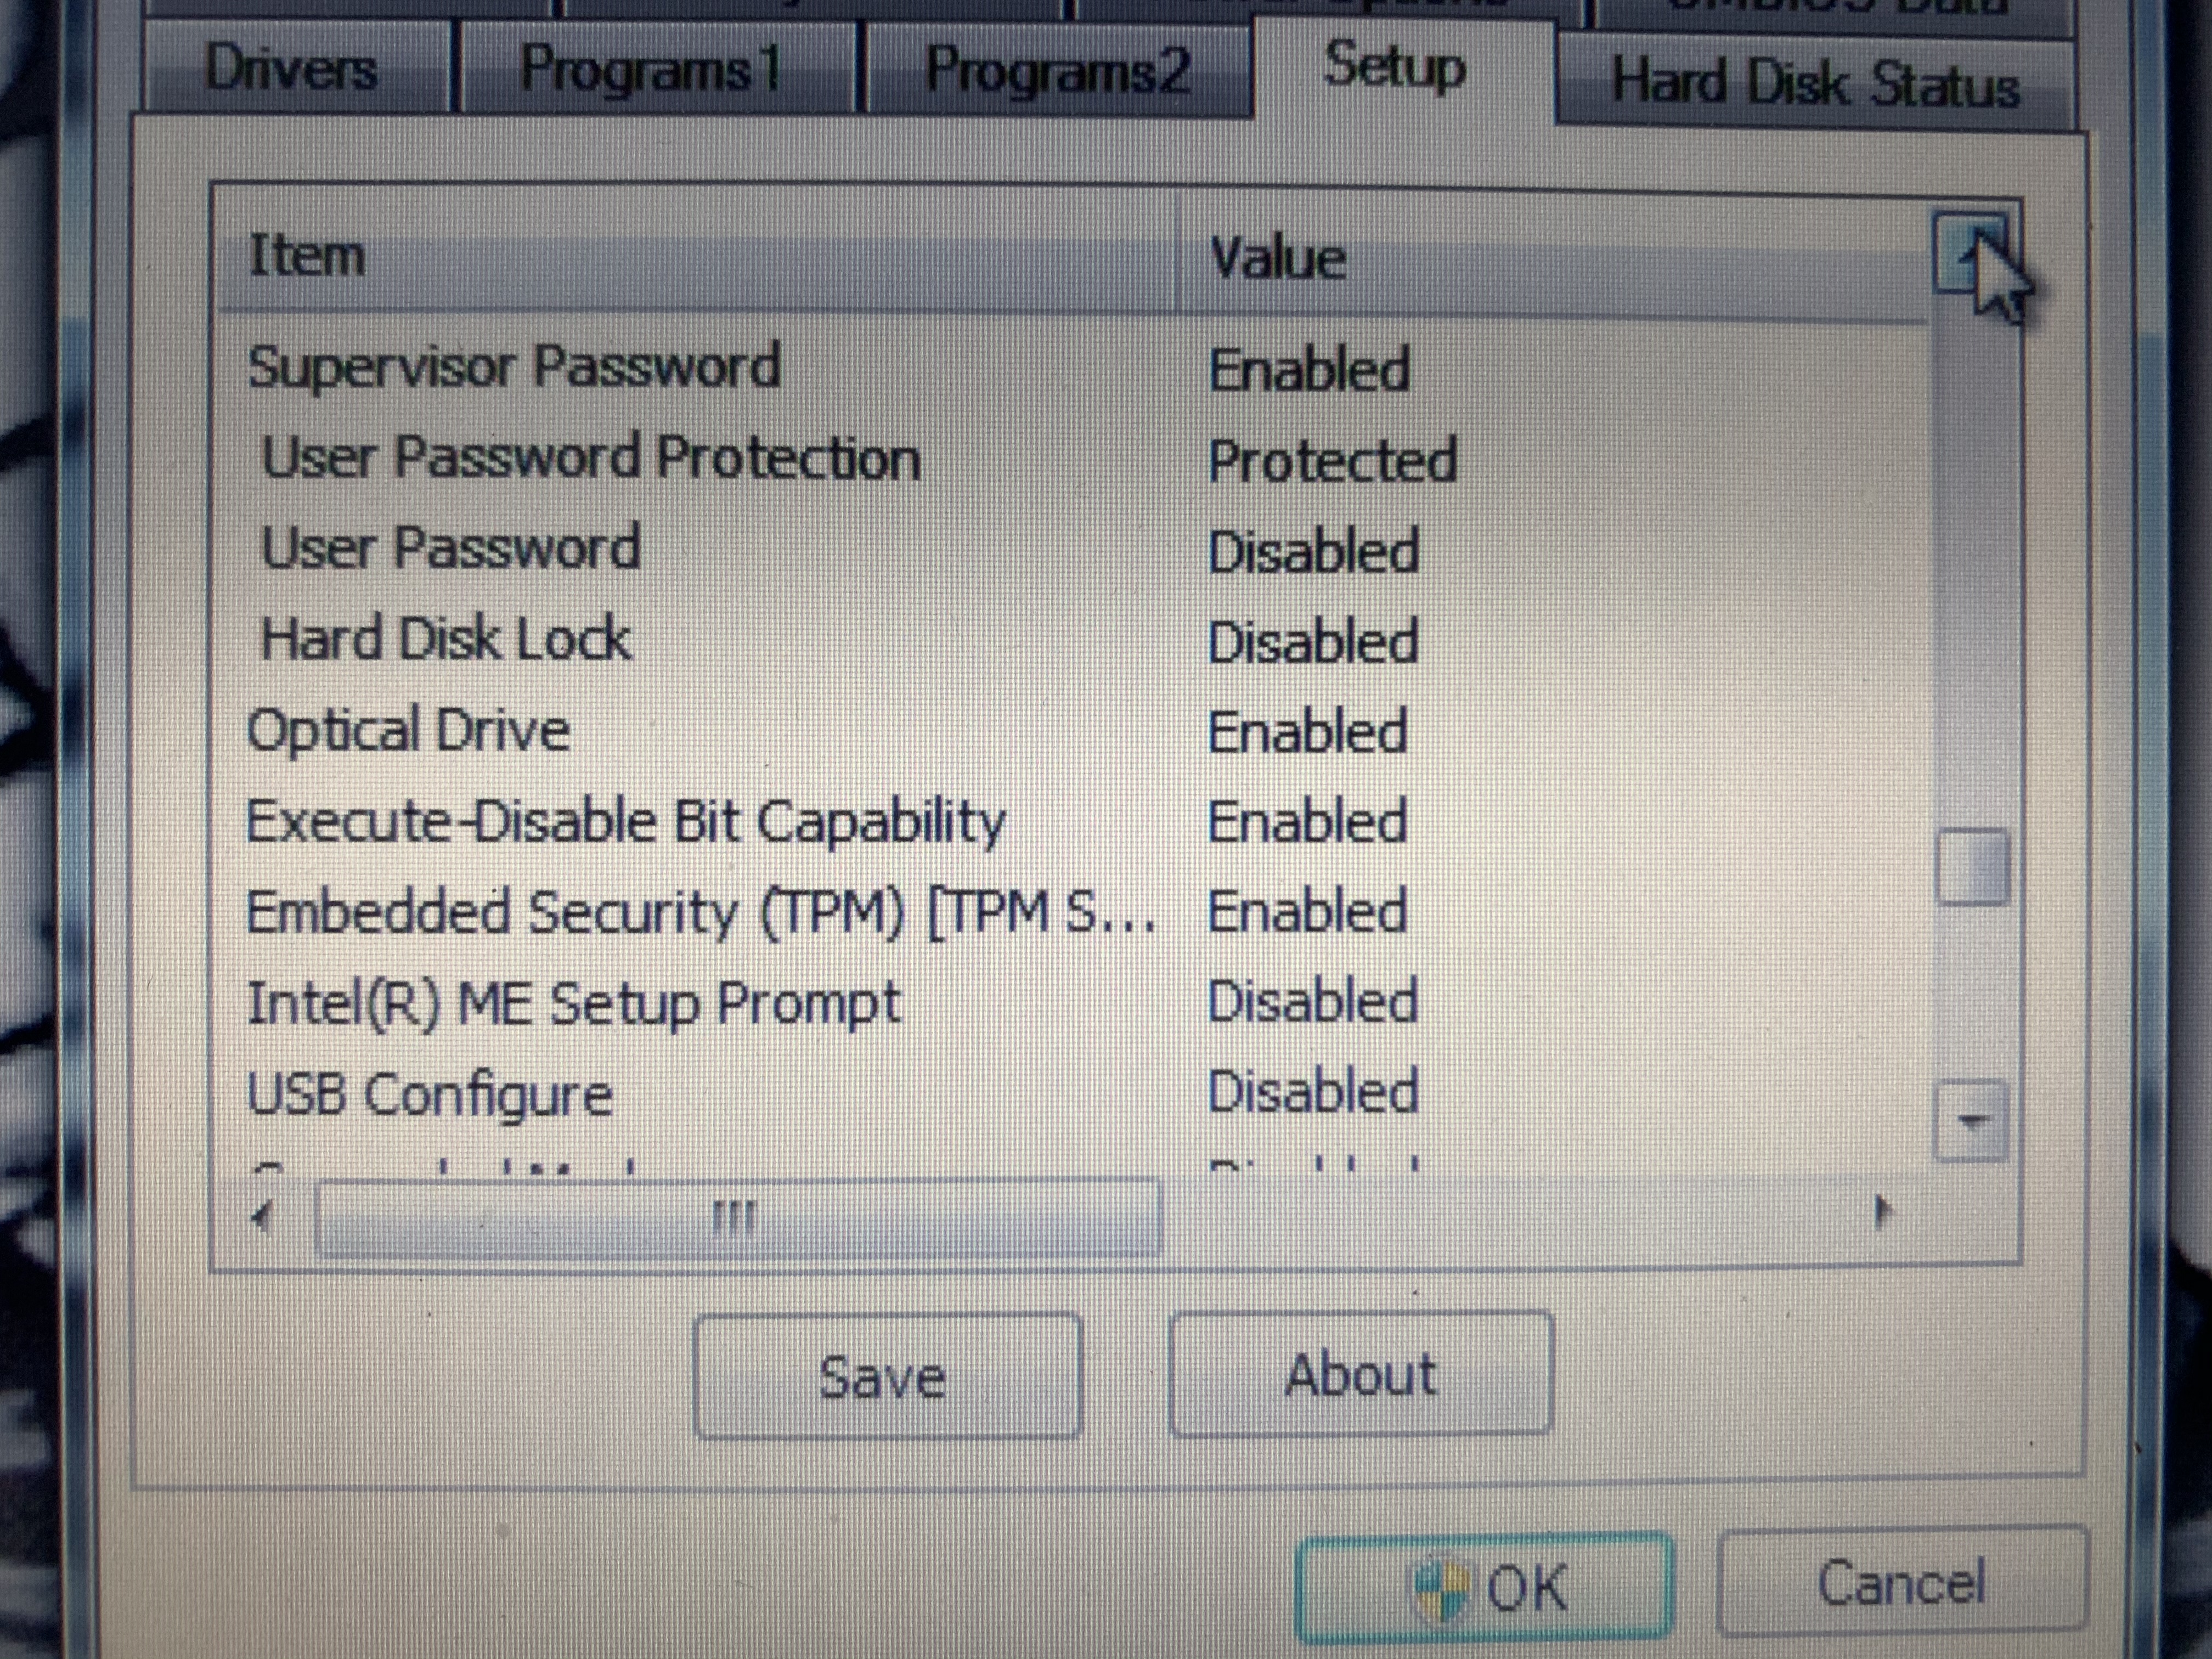
- Select the Safe Mode and press When Password on boot is set to Enabled in the Security menu of the Setup Utility, Enter Password appears after the Panasonic boot screen disappears. Page 24 Troubleshooting (Basic) Entering Password On the Enter Password screen, the password cannot be entered. Even after entering the pass- word.
- Page 18 Component system configuration Outline of peripheral components Camera control unit (CCU: AK-HCU931P) This is the multi-format camera’s camera control unit. It is connected to the multi-format camera using an optical fiber cable (optional accessory).
Manuals (Operating Instructions / Reference Manual) can be easily searched. Latest Manual Information. Mount kit L-Mount kit M4 screw 5 mm length(4 screws) Optional Accessories Wireless remote control AW-RM50G (Size “AA” dry battery x 2, obtained separately) Direct ceiling mount bracket WV-Q105A' Note For details on optional accessories, refer to the catalog or consult your local dealer. Home Forums Notebook Manufacturers Panasonic Password for ' Optional Kit Configuration ' in bios. Discussion in 'Panasonic' started by Glassact, Jan 5, 2016.
RT809H is very good quality programmer for eeprom read/write data and bin file also viewer of hexadecimal and binary code.
Programming Software: Download
EEPROM Read/write plcc socket
Product Purchase link:Click
SUPERPRO-610P, Universal IC Chip Device Programmer for ARM9 32 bit MCU, EPROMs, Flashs, PLDs
SUPERPRO 610P, High-Speed Universal Programmer, USB 2.0 The SuperPro-610P is an universal production programmer equipped with ARM9 processor with a USB 2.0 interface. Based on the 48-pin ZIF socket it can program over 32000 differents components among EPROMs, EEPROMs, FLASHs memories, PLDs and microcontrollers. It can program low voltage components down to 1.2V. It doesn’t need any adapters for any SDIP packages. The programming is extremely fast based on the use of algorithm technology downloaded in the CPU of the programmer during the selection of a device. An optional ISP adapter permit to program components soldered on printed circuits or devices in special packages. The software runs under Windows 98/ME/NT/2000/XP/Windows7/Windows8 (32/64 bits). Updates can be download freely. Supported devices: EPROM, Paged EPROM, Parallel and Serial EEPROM, FPGA Configuration PROM, FLASH memory (NOR & NAND), BPROM, NVRAM, SPLD, CPLD, EPLD, Firmware HUB, Microcontroller Packages supported: DIP, SDIP, PLCC, JLCC, SOIC, QFP, TQFP, PQFP, VQFP, TSOP, SOP, TSOPII, PSOP, TSSOP, SON, EBGA, FBGA, VFBGA, uBGA, CSP, SCSP, and more Tests and Detects incorrect insertion of the device and defective pin protected against short circuits and over-voltages Computer interface with USB 2.0 AC Power Adapter: AC input 90V to 250V, 50/60Hz, DC output 12V/2A; power: 15W Dimensions: 178 x 130 x 40 mm, Weight: 0.8kg Kit Contents Programmer with 48-pins ZIF socket Power Adaptor 90-260Vac to 12Vdc USB-B to USB-A cable Software on CD-ROM User manual in English and French PC Based Programmers
Product Information
DEVICES LIST SUPERPRO-610P
(Universal programmer with ZIF48pins drivers)
Push “CTRL + F” keys to find a component
Driver linksys wmp54g windows xp iso. Universal programmer SuperPro-610P

Total manufacturers : 238
Total devices : 33677
Revision 1652
Explanation to read a device: Click Supported IC
Q1.I tapped the [AUTO SEARCH] button, but no projector was found.
- Make sure that the smartphone and projector are connected to the same network.
- The [AUTO SEARCH] button may not be able to find the projector depending on the network configuration or wireless LAN access point settings. In that case, use the [IP-SPECIFIED] button.
Q2.I can't register the projector.
- When specifying the IP address for registration, make sure that the smartphone and projector are connected to the same network.
- Make sure that the user ID, password and command port no. entered for the registration are the same as those set in the projector.
- Check that [PJLink CONTROL] and [COMMAND CONTROL] are set to ON in the projector.
- If the projector's administrator account (User name, Password) is not set in advance, a warning message may appear when registering a projector, and the projector may not be registered. In this case, consult your network administrator.

Panasonic Fz G1 Reference Manual
Q3.I registered the projector, but I cannot turn on the projector or perform other operations.
- Check to see if the smartphone and projector are connected to the same network.
- Make sure that the main power for the projector is turned ON.
- Make sure that the [PROJECTOR SETUP] menu → [STANDBY] is set to [NORMAL] in the projector. If it is set to [ECO], power ON operation cannot be performed from the smartphone.
- If the [DHCP] setting in the projector is set to ON, the setting in [IP ADDRESS] may change. In that case, set [DHCP] to OFF, and set the IP address of the projector. Also see FAQ Q14.
- Check to see if the user ID, password and/or command port no. have not been changed from those entered for the registration.
- Check the projector settings to make sure that the [PJLink CONTROL] and [COMMAND CONTROL] settings are ON.
- The communication between the smartphone and projector may be unstable. Turn off other wireless LAN devices in the area or change the LAN channel, and then try again.
Q4.When I perform power ON or other operations for the selected projector, a different registered projector responds to the command.
- The IP address, user ID and password for the registered projector you want to operate may match those set in the different projector that responds to the operation you perform. Change the IP address, user ID and/or password in either one of the projectors, and then try again.
Q5.The function that has been added by updating the projector’s firmware cannot be activated on this application software.

- Delete the projector registered on the [Registration] screen once and register it again.
- If the function is not activated even after registering the projector again, update the software version to the latest one.
Q6.The lens adjustment button does not respond.
- If the projector is equipped with a manual optical axis shift function, it is not possible to use the shift adjustment function of the application software. Also, if the projector has manual zoom and focus functions, it is not possible to use the zoom/focus adjustment functions of the application software.
Q7.Some of the test patterns cannot be displayed.
- Only the built-in test patterns in the projector in operation can be displayed.
Q8.All items in the status information screen are indicated with a ' ー ' mark.
- Make sure that the smartphone and projector are connected to the same network.
- When multiple projectors have been selected, all items in the status information screen are indicated with a ' ー ' mark.
Q9.Some items in the status information screen are indicated with a ' ー ' mark.
- Some items cannot be displayed for some projector models.
Q10.The Web Control screen appears instead of the on-screen menu display screen when I click the [OSD Capture] button.
- Updating to the projector's firmware to the latest version may resolve the problem.
Q11.Portions of the on-screen display screen's layout appear distorted.
- Depending on your operating environment, temporary layout distortion may occur. In such cases, refresh the screen.
Q12.When I tap the [Early Warning] button to start up the browser, an error message such as 'Error 404' is displayed.
Panasonic Optional Kit Configuration Password Reset
- The smartphone may not be communicating with the monitoring server. Check to make sure that the [Early Warning ] settings in the Setup screen are set correctly.
Q13.When I perform an operation using the OSD menu for multiple projectors, the position of the selected item becomes displaced.
- When the communication is unstable or the projector is executing a process, the position of the selected item may become displaced.
Q14.Can I use the projector with [DHCP] in [NETWORK SETUP] set to ON?
- The application software identifies a projector based on the set IP address. In a network environment with a DHCP server, if the DHCP is set to ON in the network setup of the projector, the IP address assigned to the projector is changed by the DHCP server. This disallows the application software to operate the projector. In such a case, set up the DHCP server so that the IP address assigned to the projector is fixed and will not be changed. For details, consult your network administrator.
Q15.I cannot use the NFC function.
- To use the NFC function, you need to purchase an optional NFC upgrade kit and then perform activation and enable the projector NFC function on the projector unit. However, there are countries and regions in which the NFC upgrade kit cannot be applied, and models with the NFC function already enabled at the time of shipment from the factory.
- For whether or not the NFC function can be used in the country or region of purchase
-Check the NFC Regional Compatibility List or ask your dealer. - If you use the projector with the NFC function disabled at the time of shipment from the factory
-Projector activation may not have been performed. Check to see if the projector has been activated. -The device’s NFC function may be disabled. Check that the device’s NFC function is enabled. -If you cannot tap the [NFC] button even after enabling the device’s NFC function, close this application once and restart it. - If you use the projector with the NFC function enabled at the time of shipment from the factory
-The device may not be compatible with NFC. Check that the device is a model compatible with NFC. -The device’s NFC function may be disabled. Check that the device’s NFC function is enabled. -If you cannot tap the [NFC] button even after enabling the device’s NFC function, close this application once and restart it.

Q16.Focus cannot be adjusted with the Auto Focus function.
- Focus may not be adjusted due to the influence of outside light or other causes that make it impossible to recognize the boundary between white and black on the test pattern displayed for auto focus. In that case, adjust the camera angle or position, move the device closer to the projector, and perform auto adjustment again.
- Focus may not be adjusted due to the camera's overexposure that makes it impossible to recognize the boundary between white and black on the test pattern displayed for auto focus. Move the device away from the projection object (wall, screen, or other objects) and perform auto adjustment again.
- Adjust the camera angle or position so that the device’s camera focus matches the projection object (wall, screen, or other objects).
- Depending on the device’s camera capability, focus may not be adjusted due to image degradation caused when increasing zoom magnification. In that case, set the zoom magnification to x1 and perform auto adjustment again.
- When performing auto adjustment with the device in hand, focus precision may be low due to the influence of hand movement. Fix the device with a tripod or other equipment and perform auto adjustment again.
